Waters sees high-end Mitutoyo metrology make a difference
 More than a decade ago Waters Corporation, the scientific laboratory instrument and software manufacturer, started introducing high-end metrology equipment to its several sites in the South Manchester area to help cope with the increasing demands of advanced product development and manufacture. The results over the next few years provided a resounding vindication of this investment philosophy, particularly as regards production of leading-edge mass spectrometers. Recently the company enhanced this capability with major Vision/Coordinate Measuring Machine acquisitions from Mitutoyo UK, the company’s long-time metrology partner.
 High-end metrology is now key
Speaking at the company’s new mass-spectrometry headquarters in Wilmslow, Cheshire, where product development and manufacture have been brought together under one roof, Six Sigma and Metrology Engineer Dr. Kevin Rogers explained that: “The information and knowledge extracted in the first few years served to prove how useful high-end metrology can be in terms of product quality and development. The use of metrology within Waters has expanded considerably since that time and is now a key part of all aspects of manufacturing within the organization.”
Improved product yield
Mass Spectrometers are very complex systems relying on tight-tolerance components to achieve very finely controlled manipulation of ion beams for the qualitative and quantitative analysis of biological samples. The need for high-precision dimensional inspection, as an aid to determine performance limiting tolerances within critical sub-assemblies, was identified. These assemblies required non-contact measurement of some key components.
Dr. Rogers continued: “Use of Mitutoyo metrology equipment has led to improved product yield and by turn an increase in productivity and quality. The financial outlay on Mitutoyo equipment within Waters has never been questioned and the use of high-performance metrological tools is seen as an ongoing and expanding force for good. The equipment has proven itself invaluable in terms of delivering previously unachievable answers. Mitutoyo’s support system from sales through to service has been excellent. Mitutoyo are a very easy company to deal with and one which I feel, as a user, places the customer foremost.”
Greater product knowledge
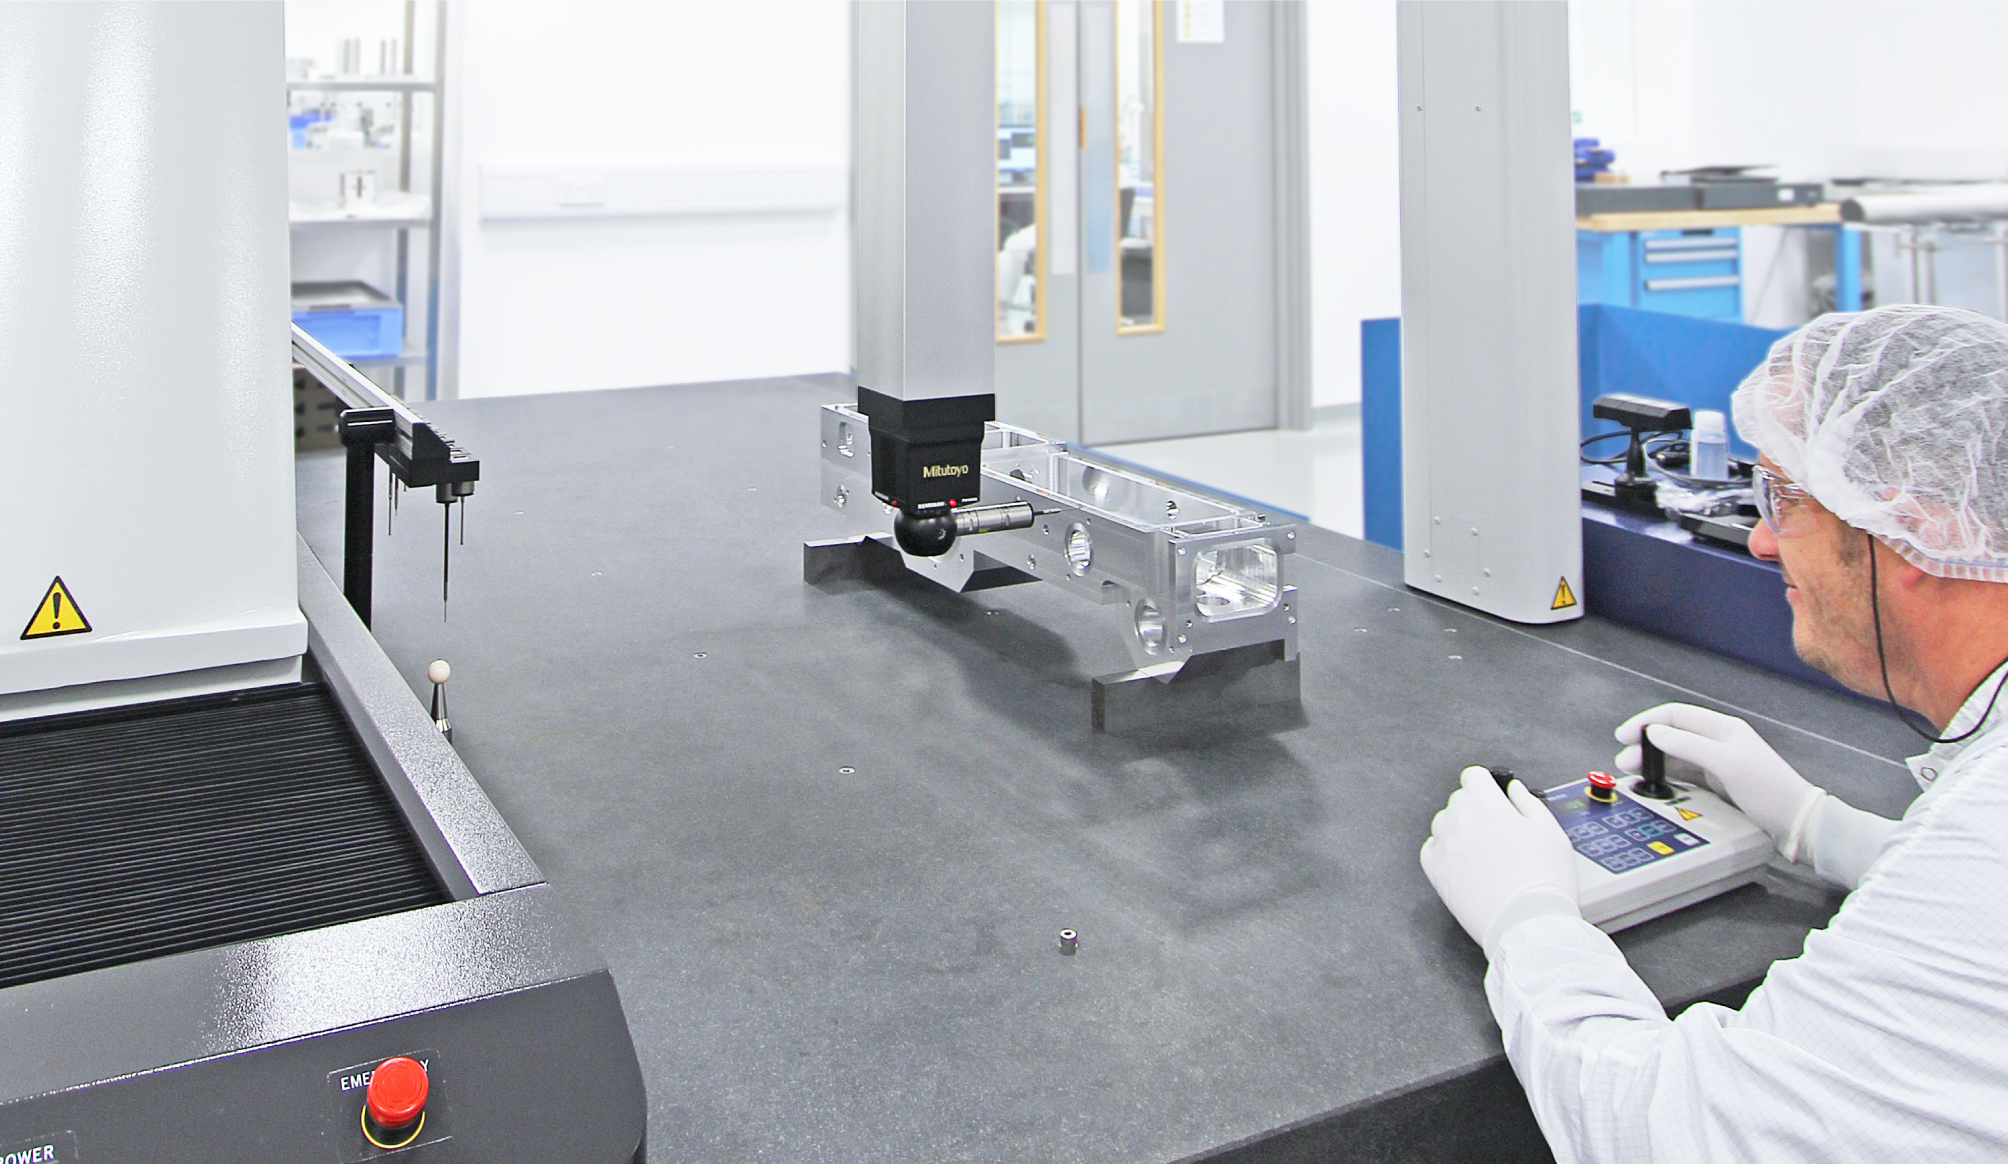
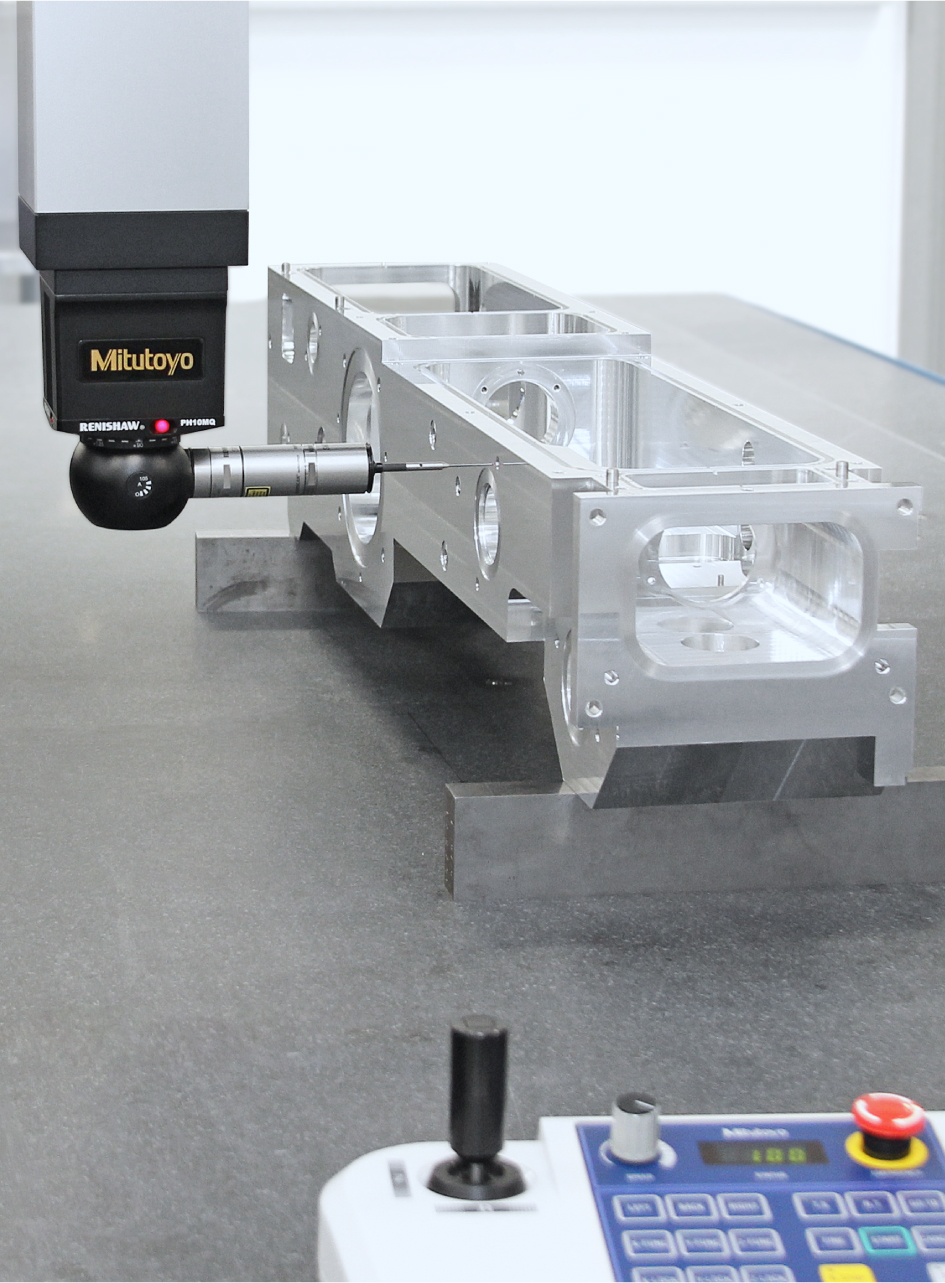
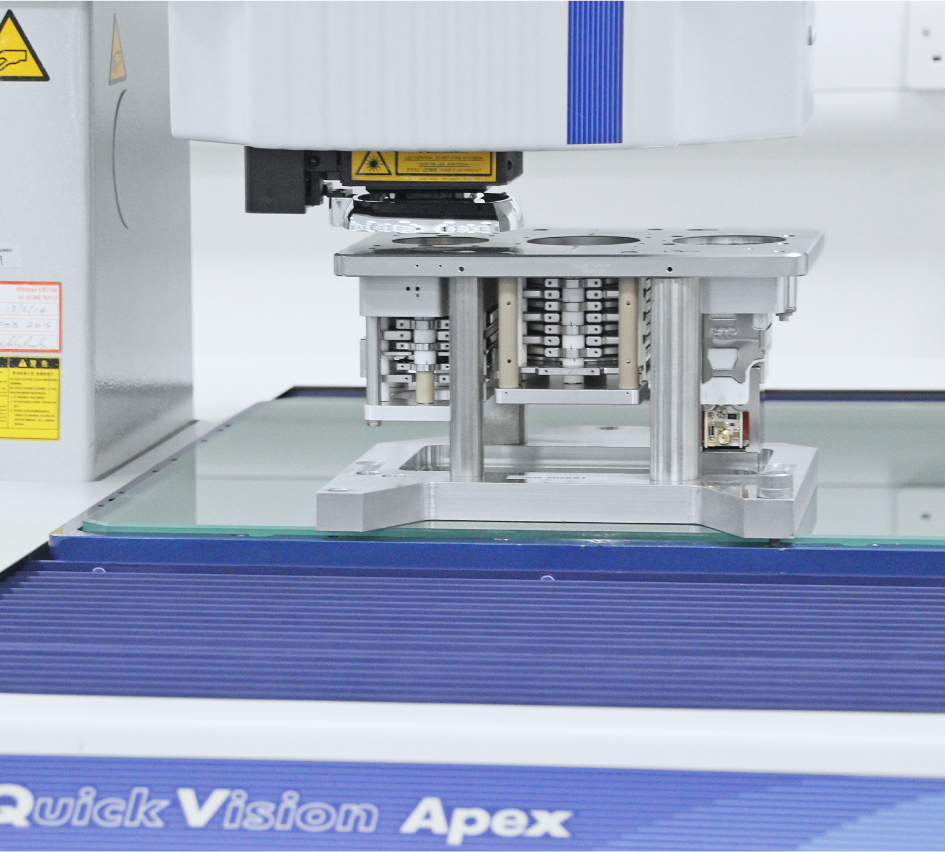
Three high-performance Mitutoyo QV Series CNC Vision Measuring Systems were acquired recently to support expanded production of smaller parts, together with a Crysta Apex C122010 CMM for measuring larger components up to 2 metres in length. Apart from the established relationship between the companies, the Mitutoyo QV machines were chosen based on demonstrated capability, which has proven more than adequate in production and development operations.

“The use of metrology has had manifold benefits but has also led to the need, as our own product complexity has expanded, to measure more and more challenging features and dimensions within our product range for even greater product knowledge. This has led us to challenge metrology OEMs to provide even more capable solutions and placed us at the leading edge of metrology requirements”, Dr. Rogers concluded.