Mitutoyo provide ‘all round’ precision to Tenon Engineering
Tenon Engineering Ltd is a leading precision manufacturing company specialising in the integrated design and manufacturing of complex electromechanical assemblies. The Dorking, Surrey based business’ in-house manufacturing resources include, multi-axis machining, cylindrical grinding, precision sheet metal fabrication and electromechanical assembly, alongside specialist coil winding and electrical motor manufacturing. Tenon’s engineering resources cover mechanical, electronics and firmware design, production engineering and analytical reverse engineering.
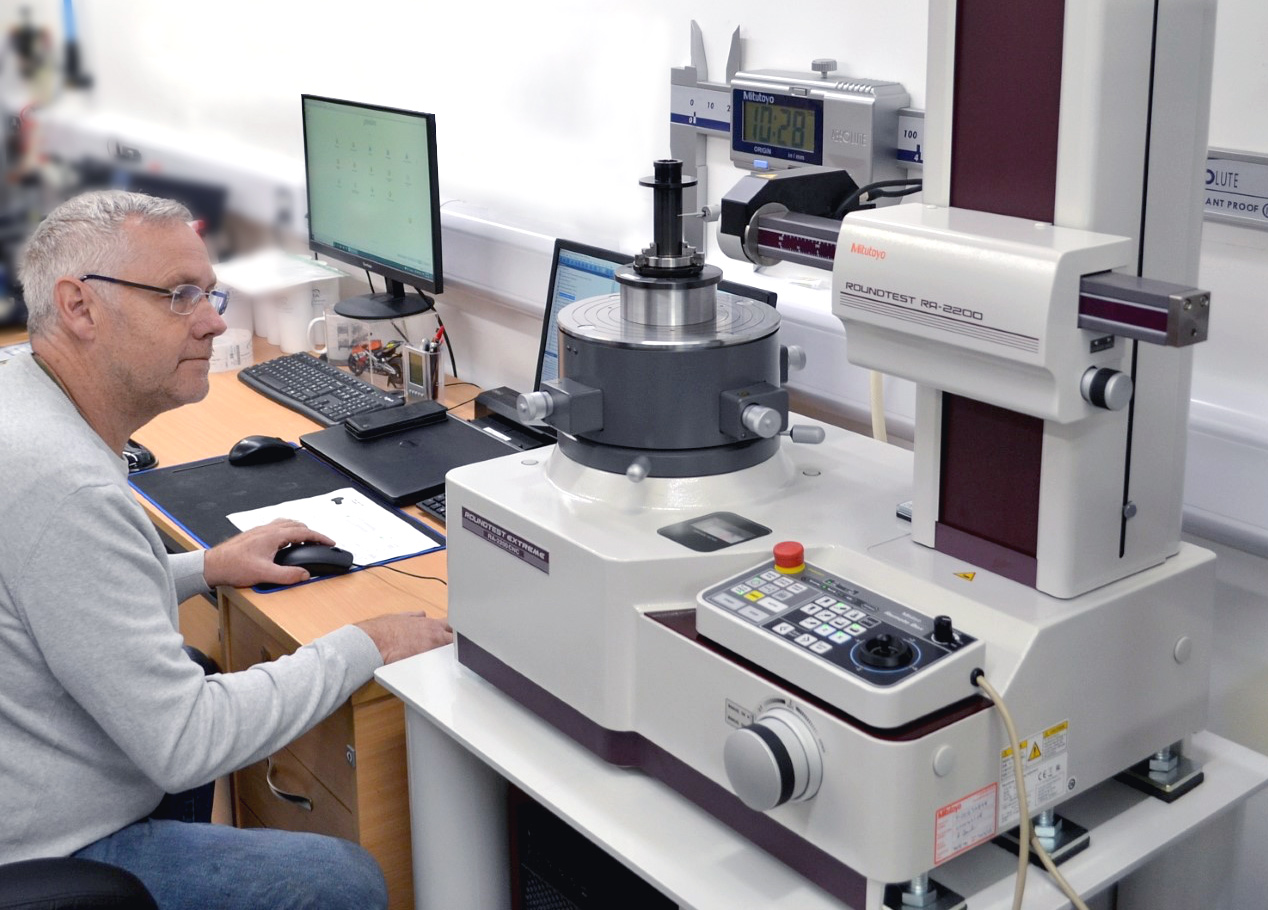
The ISO 9001 certified company’s services are underpinned by a robust quality management system, ensuring that high standards of quality, accuracy, efficiency, and reliability are embedded into all of the business’ activities. To support Tenon’s company-wide quality philosophy and to aid its high-precision capabilities the business provides its skilled quality control staff with a range of cutting-edge inspection equipment. An example of Tenon’s willingness to invest in its important quality function is the company’s recently purchased advanced Mitutoyo ROUNDTEST RA-2200 CNC instrument.

Having searched for a suitably accurate and efficient means of measuring roundness and cylindricity, an in-depth demonstration convinced the staff of Tenon Engineering that the innovative Mitutoyo instrument delivered both the required levels of precision, and the ease and speed of use they were looking for.
Explaining the reason for the recent purchase, Tenon Engineering Ltd, Chief Engineer, Terry Healy explained. “From concept to completion, Tenon Engineering provide high-quality, complex assemblies and precision components. We work internationally, and up to 80% of our output is exported to major markets in the USA, Asia, Africa, and Europe. Our technically demanding customer base includes some of the world’s leading suppliers of scientific equipment, including our sister company Wallace Instruments, a global leader in the quality assurance testing of rubber, plastics, and other materials.
“Due to the nature of our customers much of our output has challenging roundness and cylindricity measurement parameters. Having decided to further enhance our already high standards in this crucial area we recently investigated the availability of the relevant, high-precision products. In addition to the accuracy of the proposed new equipment being vitally important, because of the continuous throughput of high-precision components in our busy quality department, the speed and ease of use of the chosen system were also major considerations.
“Having studied the available options we concluded that a ROUNDTEST RA-2200 CNC was the best choice for our demanding precision and efficiency needs. As the advanced Mitutoyo roundness and cylindricity measurement instrument is so easy to use, following its trouble-free installation and training, our quality control staff quickly mastered its operation. Now, in addition to precisely measuring one-offs, we are able to load batches of components onto the instrument’s table, recall previously written part-programs and start rapid, CNC inspection routines. Once underway, the Mitutoyo instrument’s ability to undertake fully automated inspection tasks allows its operator to undertake other duties.
“As traceability is a crucial element of our work, having inspected a batch of components, if required Mitutoyo’s easy to use software generates comprehensive inspection reports. In addition to the ROUNDTEST RA-2200 being able to achieve the high levels of precision that we require, its fast, CNC operation has reduced the possibility of bottlenecks in the areas of roundness and cylindricity inspection.”
The ROUNDTEST RA-2200 CNC series of roundness and cylindricity measurement instruments, as purchased by Tenon Engineering, provide class leading levels of precision. A wide variety of models are available to suit the vast majority of applications, and despite their speed and ease-of-use, the advanced Mitutoyo instruments offer multifunction analysis capabilities. In addition, the instruments’ rapid CNC operation, with fully motorised axes movement, allows highly-efficient, automated inspection tasks to be performed.
The accuracy and operational efficiency of the range is supported by the use of high-precision turntables that enable the simple and accurate centering and levelling of each workpiece. The turntables boast a high rotational accuracy specification of, radial - 0.02+3.5H/10000 μm, and axial -0.02+3.5X/10000 μm, allowing the precision measurement of flatness, roundness / cylindricity and other characteristics. For centering and levelling support, operators are able to select Mitutoyo’s A.A.T. (Automatic Adjustment Table) or D.A.T. (Digimatic Adjustment Table) options.
The ROUNDTEST RA-2200’s detector-unit holder is equipped with a sliding mechanism, allowing the one-touch measurement of components that feature deep bores with thick walls, previously a difficult inspection operation by the use of conventional arms. Furthermore, internal/external diameters can be easily measured by means of a continuous internal/external diameter measurement function.
Superior protection systems are incorporated into the ROUNDTEST RA-2200 series. A collision sensing safety function has been added to the detector unit to prevent collisions in the Z-axis. In addition, an accidental collision prevention function which stops the system when the detector unit displacement exceeds its range, has been included. Also, when an accidental touch is detected, Mitutoyo’s ROUNDPAK software, senses the error and automatically stops the system.
ROUNDTEST RA-2200 models use Mitutoyo’s renowned ROUNDPAK analysis software. User-friendly ROUNDPAK provides simple operation by the use of a mouse and icons, enabling rapid, intuitive operation. A wide variety of inspection parameters, including those for roundness/cylindricity, as well as flatness and parallelism, can be selected by clicking on the appropriate icons. ROUNDPAK also features several specialised functions, such as the design value best-fit analysis, harmonic analysis, and a function for recording the peak or trough points on a circumference.
If required, users are able to adapt and ROUNDPAK’s graphics and to measuring results in a way that suits their individual needs. In addition, bespoke reports can be created in custom formats by specifying how the analysis results should be displayed, as well as the sizes and positions of graphics, etc.