Mitutoyo’s Vision of Quality for Precision Micro
 For more than half a century Birmingham based Precision Micro Ltd has pioneered innovative photo chemical etching production techniques. The company’s precision manufacturing technologies, design skills and detailed inspection procedures have enabled Precision Micro to become a respected global supplier of custom parts to a wide range of high-tech industries. Sectors served include the demanding automotive, aerospace and defence, electronics, medical and precision engineering sectors.
The company operate a rigorous CQI (Continuous Quality Improvement) programme throughout all departments. This unremitting pursuit of excellence ensures that product and manufacturing standards continue to rise to ever higher levels.
As part of Precision Micro’s progressive CQI program a search was recently made for an extremely precise vision measuring system that would further enhance the company’s quality control function and ensure that its inspection department was able to keep pace with increasing production volumes.
Lee Weston of Precision Micro Ltd explained. “As a direct result of our CQI initiatives we are now able to maintain repeatability levels approaching six sigma standards, these impressive quality levels benefit our customers whilst also making our operation more cost efficient.
“To support our quality activities we have an in-house inspection department covering disciplines such as material hardness, mechanical properties, surface roughness measurement, material analysis and dimensional measurement, the data generated from this facility helps to drive our internal process control systems.
“To help our important quality function keep pace with recently increased levels of production and to ensure it is able to accommodate further anticipated production rises, a decision was recently made to purchase another optical CMM to add to our existing collection of 5 machines, 3 of which are Mitutoyo machines.
“The oldest of our Mitutoyo CMMs has now been in operation for 15 years and is kept busy performing precise inspection routines 24/7. The machine has never broken down; it remains extremely productive, within specification and very accurate. Although we have had outstanding service from this machine and our other Mitutoyo optical CMMs, as we were aware of the technical progress made in the field, in addition to considering Mitutoyo’s latest offerings, we also looked at optical CMMs from other manufacturers.
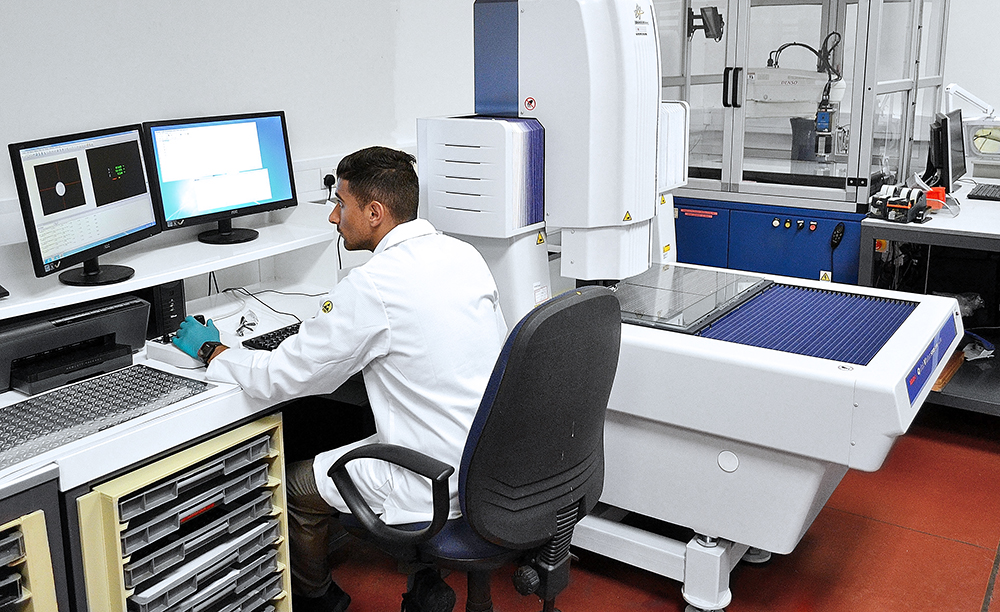
“Having deliberated on the merits of several machines, we came to the conclusion that Mitutoyo’s advanced Quick Vision Stream Plus, optical CMM was the ideal machine for our hi-precision, fast throughput needs.
“Although the quality of our parts is of paramount importance, our speed of inspection is also crucial. Given our current high levels of output and expected rises in production, it helped that the very accurate Quick Vision Stream Plus is 83% faster than our existing Mitutoyo models; in addition it has a larger bed size that allows us to load more components for inspection.
 “A perfect example of the advantages we have gained by the use of our new, high-speed Mitutoyo optical CMM are the inspection time savings we have made on one of our commonly produced automotive components. We are now able to perform a precise, detailed, 100% inspection routine on a quantity of these components in just 4 hours. Previously this task took 16 hours. As we need to perform 100% inspection on more than 1 million automotive parts each month, the accuracy and impressive speed of the Quick Vision Stream Plus has completely removed the potential for inspection bottle-necks and, regardless of production volumes, ensured that our dimensional inspection capability remains ’future-proof’.
“We purchased Mitutoyo’s MeasurLink software at the same time as our new optical CMM. Regardless of brand, this has allowed us to network our new equipment, our existing machines and all of our hand held measuring instruments regardless of brand. Now fully operational, the easy to use MeasurLink system has enabled us to achieve rapid, seamless data collection and to undertake efficient, remote data analysis.”
Mitutoyo Vision Measuring Systems are available in a wide range of sizes and accuracy classes to cover the vast majority of precision applications. In addition toMitutoyo Vision Measuring Systems representing an excellent investment in terms of productivity, versatility and quality of construction, Mitutoyo also provide excellent levels of training and on-going service support.
Each Mitutoyo Vision Measuring Systems component is designed using the latest CAD techniques to ensure maximum performance and manufactured from materials best suited to its purpose for guaranteed longevity.
In addition to built-in high-performance vision probes, contact probes are available on some systems to extend the range of measurement applications, whilst Mitutoyo’s dedicated analysis software interprets measurement results enabling users to keep-up with fast-paced production.
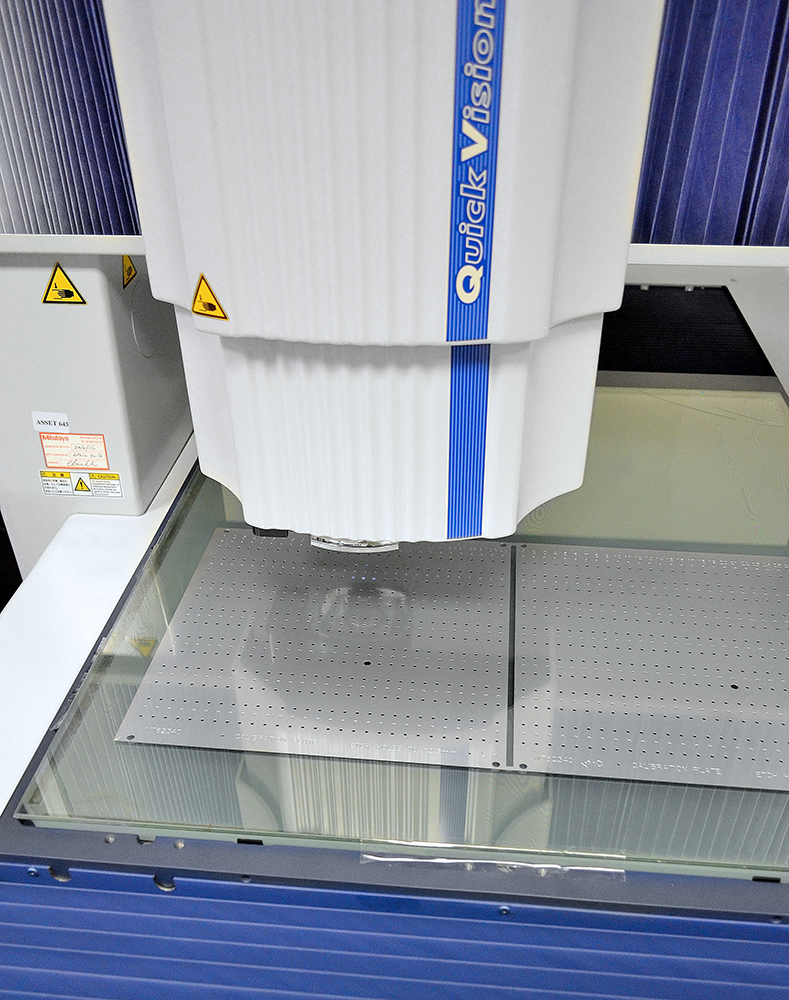
The Mitutoyo Quick Vision Stream Plus, as purchased by Precision Micro Ltd, is part of a range of high quality 3D CNC Vision Measuring System that offer accuracy in the 1.8µm class. The use of a high-intensity-LED stroboscopic image capturing technique, that operates whilst the stage is moving, means that the advanced machines are highly productive when used on most workpieces. This innovative, dynamic measuring technique eliminates the time needed to accelerate, decelerate and then hold the stage motionless whilst a measurement is made. Programmable ring lighting provides flexibility in lighting direction, angle and intensity regardless of the slope of the workpiece surface. This enables maximum surface contrast to be achieved for best imaging resolution, and hence improved accuracy on even the most problematic of workpieces. A robust fixed bridge, moving table design is used to deliver ultimate rigidity, whilst a programmable power turret provides control of magnification for optimal viewing.