McNeal Tool Company – Case study
 McNeal Tool Company of Cedar Rapids, Iowa, a wholly owned subsidiary of Mid Iowa Tools, Inc., specializes in the sales and support of precision metrology instruments and services. This includes provision of gage calibration services to a national manufacturer of window and door products that are sold into residential and commercial markets.
According to Wayne Schneider, McNeal Tool Field Engineer, “Many of the customer’s products include wood and extruded or roll-formed materials processed to length using tenoners, molder/profilers, or saws. The length of these pieces can measure from around 90” to 140” or more, with tolerances typically kept to within ± 0.002”.
To help keep machining processes centered on nominal values, the customer utilizes an SPC measurement routine that includes periodic use of long, single-axis measuring tables specifically designed to verify accuracy of long workpieces.
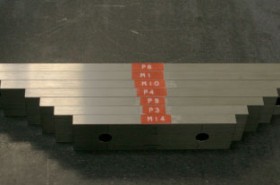
The measuring tables are about 12” wide, up to 140” long, and equipped with digital readouts. Accuracy of the measuring table set-ups is regularly verified utilizing an “assembly” of the longest available, standard gage blocks – these come in kits, generally with lengths of 5”, 6”, 7”, 8”, 10”, 12”, 16”, and 20”.
These long gage block assemblies must themselves be periodically calibrated as error accumulates over time. Error can be introduced by: disassembly and re-assembly, nicks, burrs, dropping, oil and dirt build-up, corrosion, etc. To reduce inaccuracies, each gage in the set of blocks making up a long gage block assembly must be individually calibrated.
Schneider explained that selection of a calibration services provider became increasingly important to the window manufacturer, saying, “Our customer had tried a number of calibration labs but couldn’t get consistent results. This was a real problem since inconsistencies are ‘multiplied’ by the number of blocks in each assembly. Finally, the window manufacturer settled on the Mitutoyo America Calibration Laboratory in Elk Grove Village, Illinois for providing the necessary level of performance.”
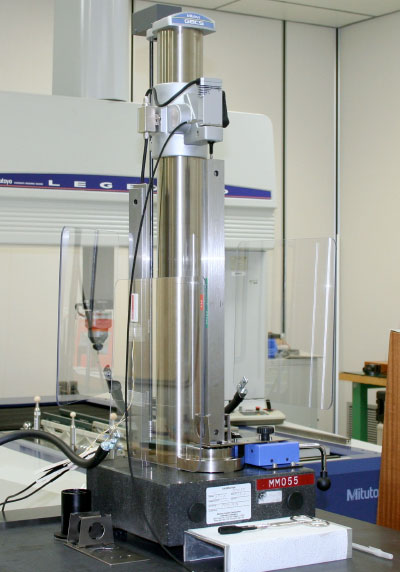
The Mitutoyo America Calibration Lab uses reference masters that are directly traceable to NIST (National Institute of Technology and Standards). To achieve high accuracies and low measurement uncertainty levels, the lab calibrates all instrumentation in a Class 10,000 certified clean room environment. When calibrating long gage blocks, temperatures are kept at 20º C ± 0.25º with relative humidity controlled between 40% and 60%. Access to the clean room is controlled by a positive pressure airlock to prevent entrance of outside air.
Laboratory Best Practice procedures for measuring long gage blocks also include:
- Verification of “single-point temperature stability” of the measuring station whereby temperature variation is verified to be less than 1/10 degree C per hour.
- Real-time monitoring to make sure temperature gradients in the vicinity of the workstation remain consistent for the entire eight hours or more required to calibrate eight-piece long gage block sets.
Schneider commented, “From choice of block material to the care taken in calibration lab procedures, our customer could see the how the benefits of Best Practice calibration translate from gage blocks, through measuring tables, and on to higher quality finished parts with lower rejects.”

This article was created by Mitutoyo America Corporation, for more details please visit their site here